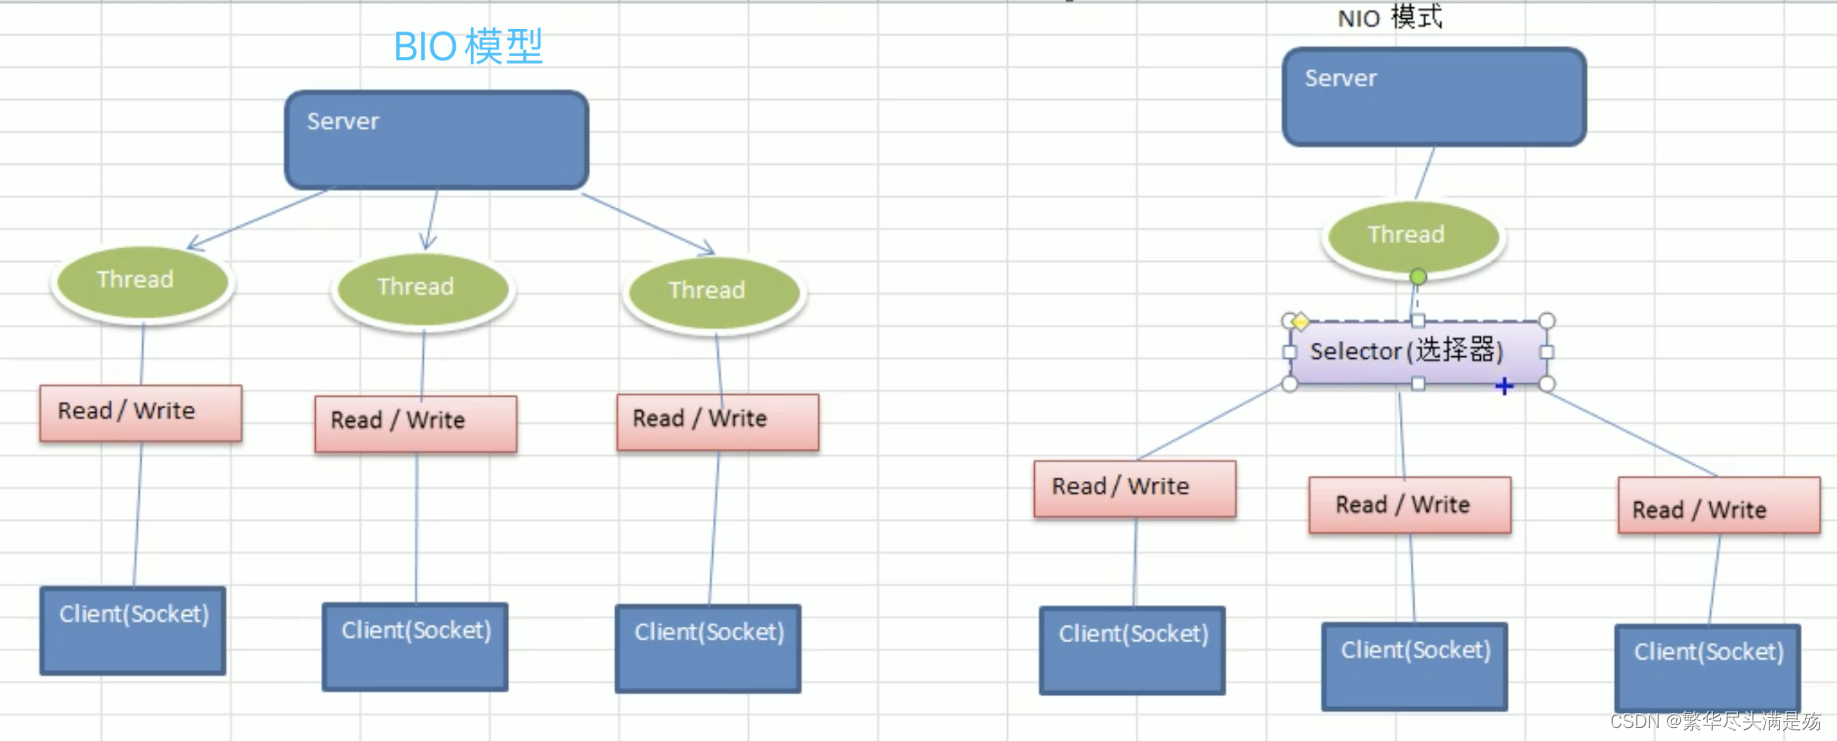
前言 下面是BIO和NIO的原理结构图,可以看出使用BIO时,每个客户端都会独占一个线程,而使用NIO时,一个Selector选择器独占一个线程,一个选择器下面可以连接多个客户端,然后Selector开始轮询下面的每一个客户端,这就提高了线程的复用,所以叫非阻塞IO
一、BIO
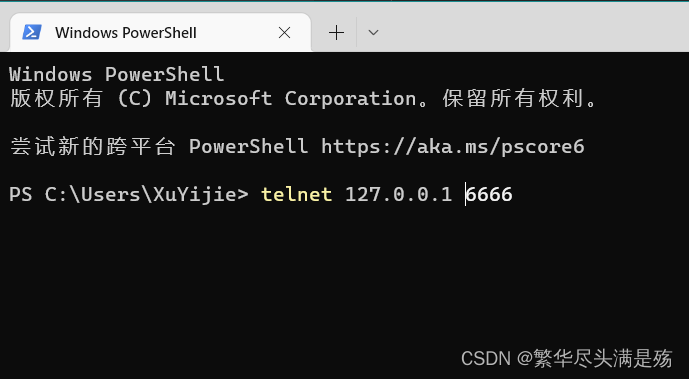
下面的代码已经完成了一个 BIO 服务端的编写,启动下面的代码后,可以用 cmd 的 telnet 命令来连接到服务端(telnet怎么安装可以自己bing一下哦)。
然后回车,就可以输入要发送的文字信息了,有些电脑可能回车以后还需要按一下 Ctrl+J 才能开始输入文字,这时,我们的cmd就变成了客户端,可以向服务端发送信息。
1、代码(含服务端、客户端) 1 2 3 4 5 6 7 8 9 10 11 12 13 14 15 16 17 18 19 20 21 22 23 24 25 26 27 28 29 30 31 32 33 34 35 36 37 38 39 40 41 42 43 44 45 46 47 48 49 50 51 52 53 54 55 56 57 58 59 60 61 62 63 64 65 66 67 68 69 package pers.xuyijie.bio;import java.io.IOException;import java.io.InputStream;import java.net.ServerSocket;import java.net.Socket;import java.util.concurrent.ExecutorService;import java.util.concurrent.Executors;public class BIOServer { public static void main (String[] args) throws IOException { ExecutorService executorService = Executors.newCachedThreadPool(); ServerSocket serverSocket = new ServerSocket (6666 ); System.out.println("服务器已启动" ); while (true ){ System.out.println("等待连接..." ); final Socket socket = serverSocket.accept(); System.out.println("连接到一个客户端" ); executorService.execute(new Runnable () { @Override public void run () { try { handler(socket); } catch (IOException e) { throw new RuntimeException (e); } } }); } } public static void handler (Socket socket) throws IOException { System.out.println("线程信息:id=" + Thread.currentThread().getId() + " name=" + Thread.currentThread().getName()); byte [] bytes = new byte [1024 ]; InputStream inputStream = socket.getInputStream(); while (true ){ System.out.println("正在等待客户端信息..." ); int read = inputStream.read(bytes); if (read != -1 ){ System.out.println(new String (bytes, 0 , read)); }else { break ; } } try { socket.close(); System.out.println("客户端连接已关闭" ); }catch (Exception e){ e.printStackTrace(); } } }
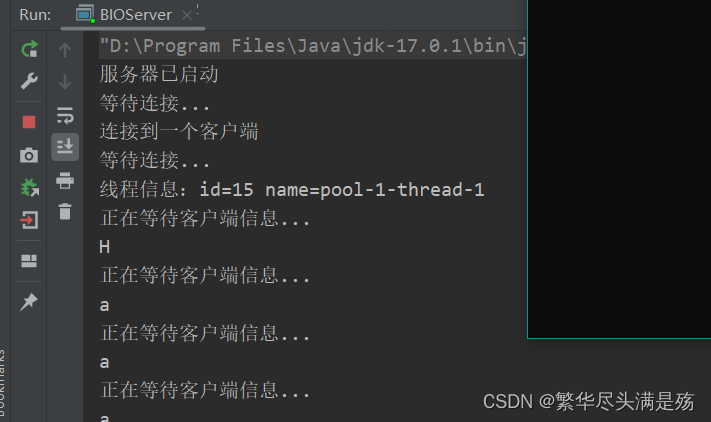
2、演示
二、NIO
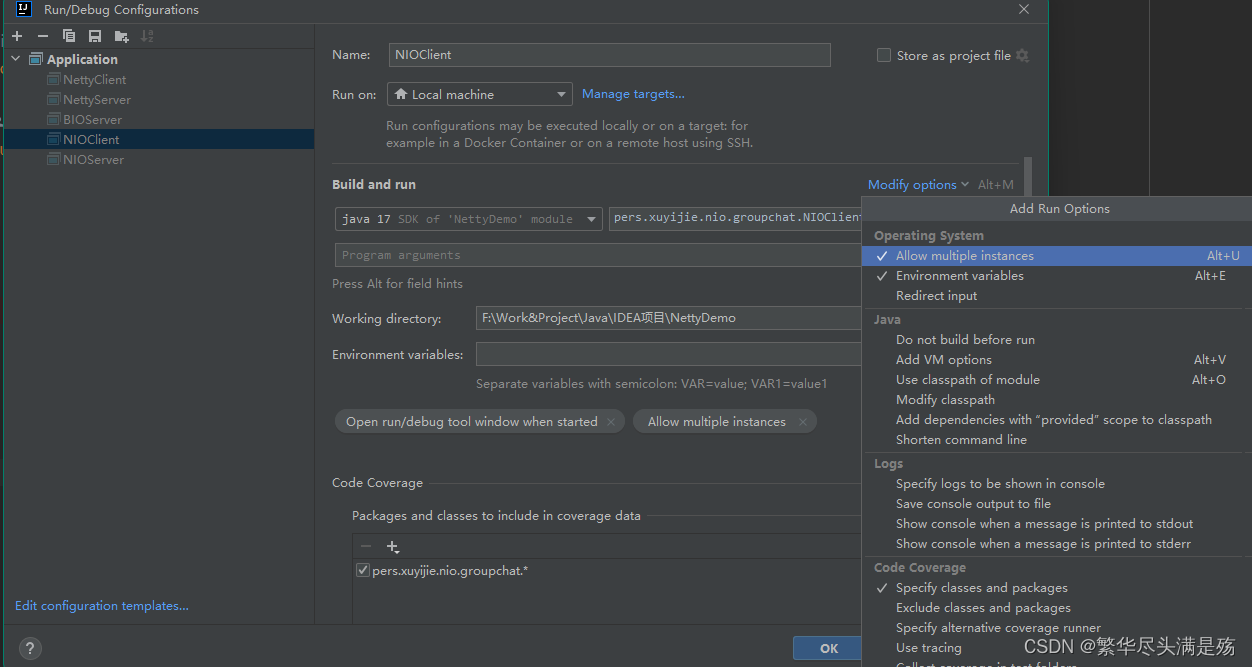
下面的代码分为 Server 和 Client,将idea设置成同时启动多个相同类(看我下面的截图),可以启动多个客户端,而且Server有转发功能,收到任意一个客户端发来的消息,都可以把消息转发给其他所有客户端,也就是说任意一个客户端发送的消息,其他客户端和服务端都可以看到,可以作为一个简易的群聊系统。
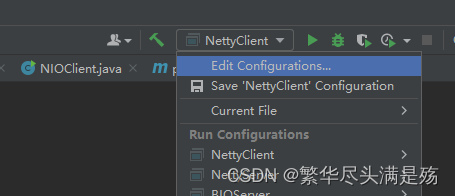
首先Edit Configurations
然后选择要启动多个的类,我这里是 NIOClient,把Allow multiple instance勾上,确定就可以了
1、代码 服务端 NIOServer.java,这个是服务端,只需要启动一个
1 2 3 4 5 6 7 8 9 10 11 12 13 14 15 16 17 18 19 20 21 22 23 24 25 26 27 28 29 30 31 32 33 34 35 36 37 38 39 40 41 42 43 44 45 46 47 48 49 50 51 52 53 54 55 56 57 58 59 60 61 62 63 64 65 66 67 68 69 70 71 72 73 74 75 76 77 78 79 80 81 82 83 84 85 86 87 88 89 90 91 92 93 94 95 96 97 98 99 100 101 102 103 104 105 106 107 108 109 110 111 112 113 114 115 116 117 118 119 120 121 122 123 124 125 126 127 128 129 130 131 132 133 134 135 package pers.xuyijie.nio.groupchat;import java.io.IOException;import java.net.InetSocketAddress;import java.nio.ByteBuffer;import java.nio.channels.*;import java.util.Iterator;public class NIOServer { private Selector selector; private ServerSocketChannel serverSocketChannel; private static final int PORT = 6667 ; public NIOServer () { try { selector = Selector.open(); serverSocketChannel = ServerSocketChannel.open(); serverSocketChannel.socket().bind(new InetSocketAddress (PORT)); serverSocketChannel.configureBlocking(false ); serverSocketChannel.register(selector, SelectionKey.OP_ACCEPT); } catch (IOException e){ e.printStackTrace(); } } public void listen () { try { while (true ){ int count = selector.select(2000 ); if (count > 0 ){ Iterator<SelectionKey> iterator = selector.selectedKeys().iterator(); while (iterator.hasNext()){ SelectionKey selectionKey = iterator.next(); if (selectionKey.isAcceptable()){ SocketChannel socketChannel = serverSocketChannel.accept(); socketChannel.configureBlocking(false ); socketChannel.register(selector, SelectionKey.OP_READ); System.out.println(socketChannel.getRemoteAddress() + "上线了!" ); } if (selectionKey.isReadable()){ readData(selectionKey); } iterator.remove(); } }else { System.out.println("正在监听..." ); } } } catch (IOException e) { throw new RuntimeException (e); } finally { } } public void readData (SelectionKey selectionKey) throws IOException { SocketChannel socketChannel = null ; try { socketChannel = (SocketChannel) selectionKey.channel(); ByteBuffer byteBuffer = ByteBuffer.allocate(1024 ); int count = socketChannel.read(byteBuffer); if (count > 0 ){ String msg = new String (byteBuffer.array()); System.out.println("客户端:" + msg); sendMsgToOtherClients(msg, socketChannel); } } catch (IOException e) { System.out.println(socketChannel.getRemoteAddress() + "离线了!" ); selectionKey.cancel(); socketChannel.close(); } } public void sendMsgToOtherClients (String msg, SocketChannel socketChannel) throws IOException { System.out.println("服务器转发消息" ); for (SelectionKey selectionKey : selector.keys()){ Channel channel = selectionKey.channel(); if (channel instanceof SocketChannel && channel != socketChannel){ SocketChannel socketChannel1 = (SocketChannel) channel; ByteBuffer byteBuffer = ByteBuffer.wrap(msg.getBytes()); socketChannel1.write(byteBuffer); } } } public static void main (String[] args) { NIOServer nioServer = new NIOServer (); nioServer.listen(); } }
客户端 NIOClient.java,这时客户端,设置好以后,可以点击多次启动,启动多个
1
2
3
4
5
6
7
8
9
10
11
12
13
14
15
16
17
18
19
20
21
22
23
24
25
26
27
28
29
30
31
32
33
34
35
36
37
38
39
40
41
42
43
44
45
46
47
48
49
50
51
52
53
54
55
56
57
58
59
60
61
62
63
64
65
66
67
68
69
70
71
72
73
74
75
76
77
78
79
80
81
82
83
84
85
86
87
88
89
90
91
92
93
94
95
96
97
98
99
100
101
102
103
104
105
106
107
108
109
110
package pers.xuyijie.nio.groupchat;import java.io.IOException;import java.net.InetSocketAddress;import java.nio.ByteBuffer;import java.nio.channels.SelectionKey;import java.nio.channels.Selector;import java.nio.channels.SocketChannel;import java.util.Iterator;import java.util.Scanner;public class NIOClient { private final String HOST = "127.0.0.1" ; private final int PORT = 6667 ; private final Selector selector; private final SocketChannel socketChannel; private final String username; public NIOClient () throws IOException { selector = Selector.open(); socketChannel = SocketChannel.open(new InetSocketAddress (HOST, PORT)); socketChannel.configureBlocking(false ); socketChannel.register(selector, SelectionKey.OP_READ); username = socketChannel.getLocalAddress().toString().substring(1 ); System.out.println(username + "已连接" ); } public void sendMsg (String msg) throws IOException { msg = username + ":" + msg; socketChannel.write(ByteBuffer.wrap(msg.getBytes())); } public void readMsg () throws IOException { int readChannel = selector.select(); if (readChannel > 0 ){ Iterator<SelectionKey> iterator = selector.selectedKeys().iterator(); while (iterator.hasNext()){ SelectionKey selectionKey = iterator.next(); if (selectionKey.isReadable()){ SocketChannel socketChannel1 = (SocketChannel) selectionKey.channel(); ByteBuffer byteBuffer = ByteBuffer.allocate(1024 ); socketChannel1.read(byteBuffer); String msg = new String (byteBuffer.array()); System.out.println(msg.trim()); }else { System.out.println("没有可用通道" ); } } } } public static void main (String[] args) throws IOException { NIOClient nioClient = new NIOClient (); new Thread (){ @Override public void run () { while (true ){ try { nioClient.readMsg(); } catch (IOException e) { throw new RuntimeException (e); } try { sleep(3000 ); } catch (InterruptedException e) { throw new RuntimeException (e); } } } }.start(); Scanner scanner = new Scanner (System.in); while (scanner.hasNextLine()){ String msg = scanner.nextLine(); nioClient.sendMsg(msg); } } }
2、演示
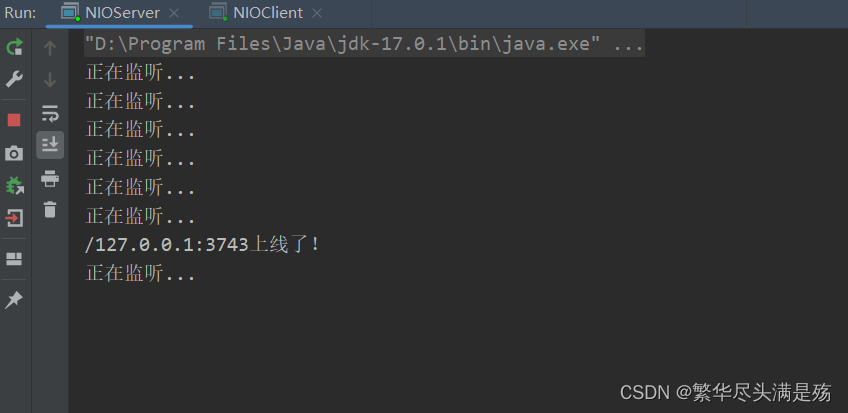
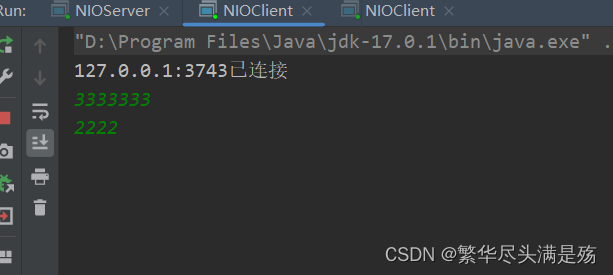
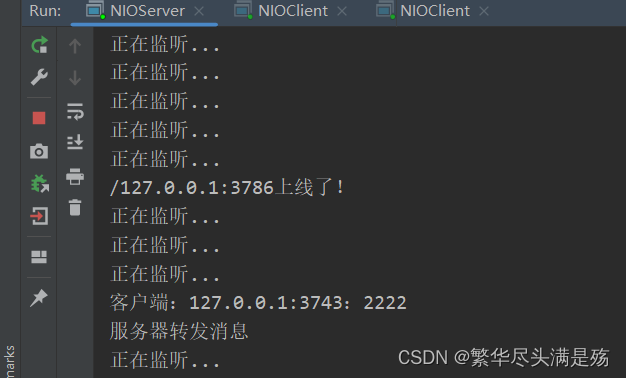
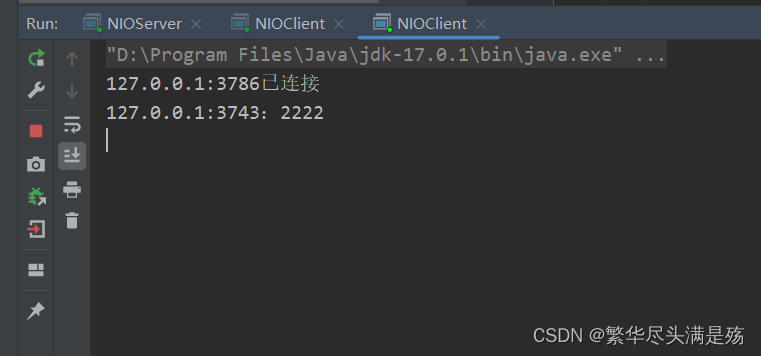
启动两个文件,先启动 NIOServer.java,再启动 NIOClient.java,NIOClient我启动了两个,因为服务器有转发功能,相当于一个群聊系统.
总结 以上是 JDK 的原生 BIO 和 NIO 的使用 demo,代码的意思在注释里面基本都有写,但是写的不是很详细,因为我也没有完全弄懂,这东西要慢慢自己断点调试来研究,接下来会写 NIO 的框架——Netty
