没有配置好环境的同学看我的传送门 Deepin(Ubuntu通用)安装Hadoop伪分布环境(集成Hbase、Hive、MySQL、Spark、Scala)
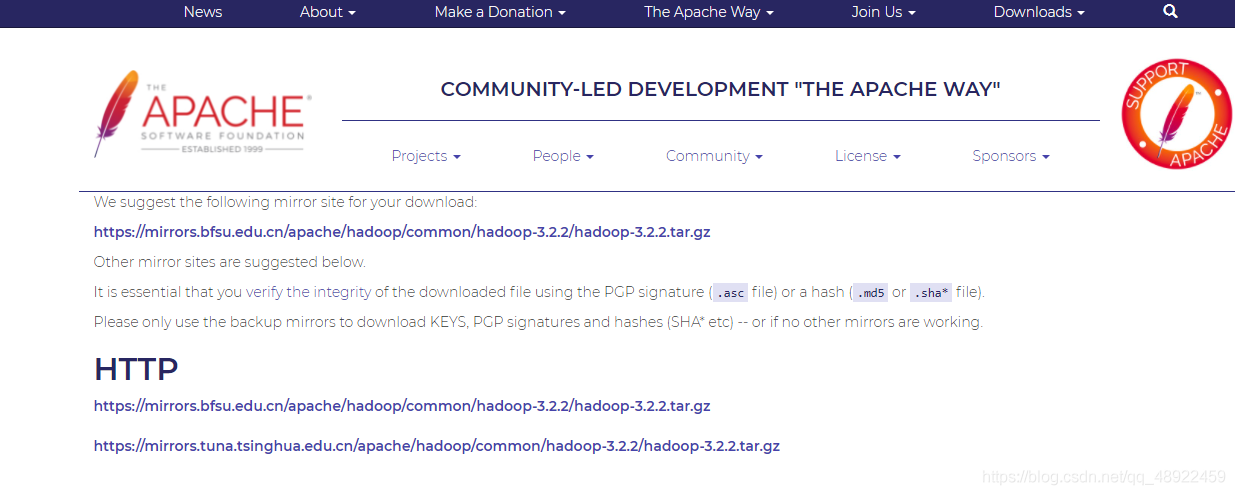
1、在Windows下下载Hadoop Hadoop下载地址
bfsu这个镜像最快,清华的经常断
下载完成后解压
2、使用idea新建Java工程 新建一个普通的java项目就行,jdk最好用1.8,不然有可能会报错
首先在新建的项目文件夹里新建一个文件夹,存放要导入的jar包
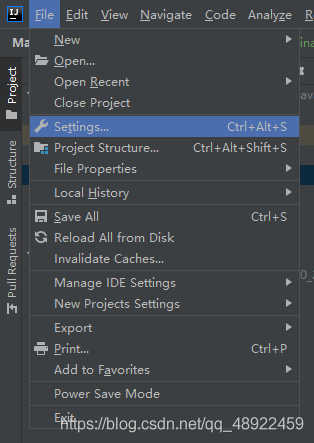
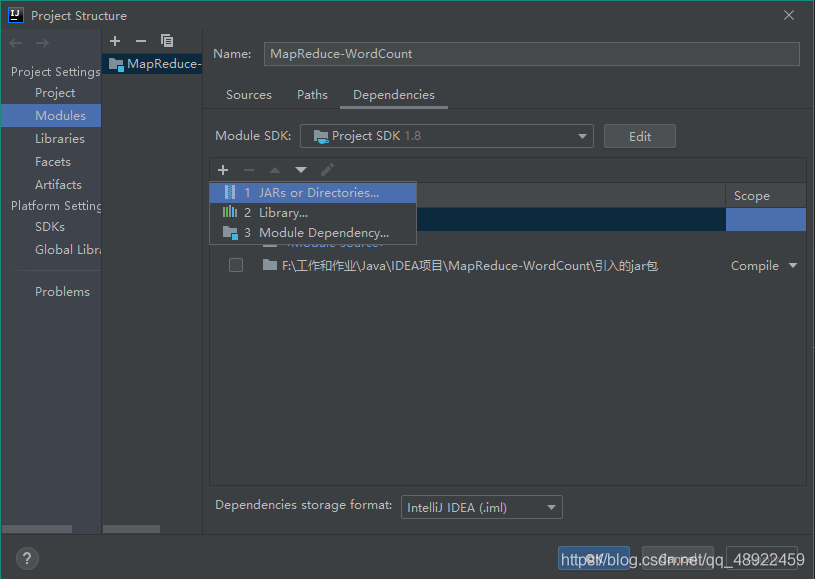
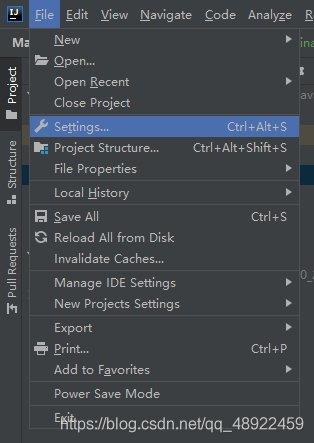
在 idea 中配置引入的 jar 包
选择自己新建的存放 jar 包的文件夹
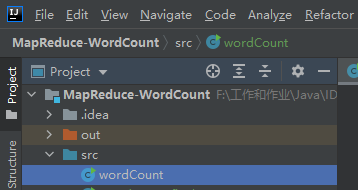
3、编写代码 新建 WordCount java 文件
代码如下
1
2
3
4
5
6
7
8
9
10
11
12
13
14
15
16
17
18
19
20
21
22
23
24
25
26
27
28
29
30
31
32
33
34
35
36
37
38
39
40
41
42
43
44
45
46
47
48
49
50
51
52
53
54
55
56
57
58
59
60
61
62
63
64
65
66
67
68
69
70
71
72
73
74
75
76
77
78
79
80
81
82
83
84
85
86
87
88
89
90
91
92
93
94
95
96
97
98
99
100
101
102
103
104
105
106
107
108
import java.io.IOException;import org.apache.hadoop.io.IntWritable;import org.apache.hadoop.io.LongWritable;import org.apache.hadoop.io.Text;import org.apache.hadoop.mapreduce.Mapper;import org.apache.hadoop.mapreduce.Reducer;import org.apache.hadoop.conf.Configuration;import org.apache.hadoop.fs.Path;import org.apache.hadoop.fs.FileSystem;import org.apache.hadoop.mapreduce.Job;import org.apache.hadoop.mapreduce.lib.input.FileInputFormat;import org.apache.hadoop.mapreduce.lib.output.FileOutputFormat;public class WordCount_final { public WordCount_final () {} public static class WordCountMapper extends Mapper <LongWritable, Text, Text, IntWritable> { public void map (LongWritable key, Text value, Context context) throws IOException, InterruptedException { String line = value.toString(); String[] words = line.split(" " ); for (String w : words) { context.write(new Text (w), new IntWritable (1 )); } } } public static class WordCountReducer extends Reducer <Text, IntWritable, Text, IntWritable> { public void reduce (Text key, Iterable<IntWritable> values, Context context) throws IOException, InterruptedException { int sum = 0 ; for (IntWritable v : values) { sum += v.get(); } context.write(key, new IntWritable (sum)); } } public static void main (String[] args) throws IOException, ClassNotFoundException, InterruptedException { if (args.length != 2 ) { System.out.print("Usage: WordCount <PathToInputFile> <PathToOutput>" ); return ; } Configuration conf = new Configuration (); Path outputPath= new Path (args[1 ]); FileSystem fileSystem = FileSystem.get(conf); if (fileSystem.exists(outputPath)){ fileSystem.delete(outputPath,true ); System.out.println("输出文件夹存在且已被删除" ); } Job job = Job.getInstance(conf, "word counter" ); job.setJarByClass(WordCount_final.class); job.setMapperClass(WordCountMapper.class); job.setReducerClass(WordCountReducer.class); job.setMapOutputKeyClass(Text.class); job.setMapOutputValueClass(IntWritable.class); job.setOutputKeyClass(Text.class); job.setOutputValueClass(IntWritable.class); FileInputFormat.setInputPaths(job, new Path (args[0 ])); FileOutputFormat.setOutputPath(job, new Path (args[1 ])); boolean rs = job.waitForCompletion(true ); { System.out.println(rs ? "wow, succeed!" : "not so bad" ); } System.exit(rs ? 0 : 1 ); } }
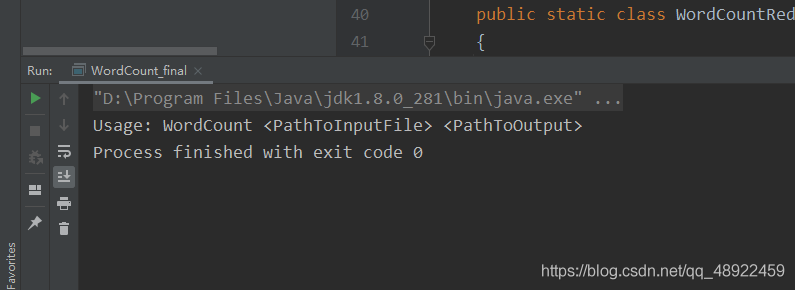
然后就可以运行了
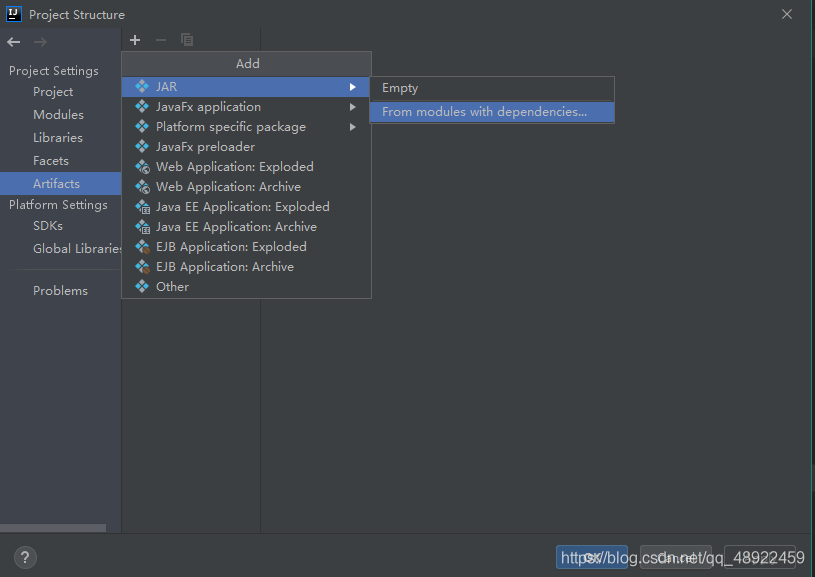
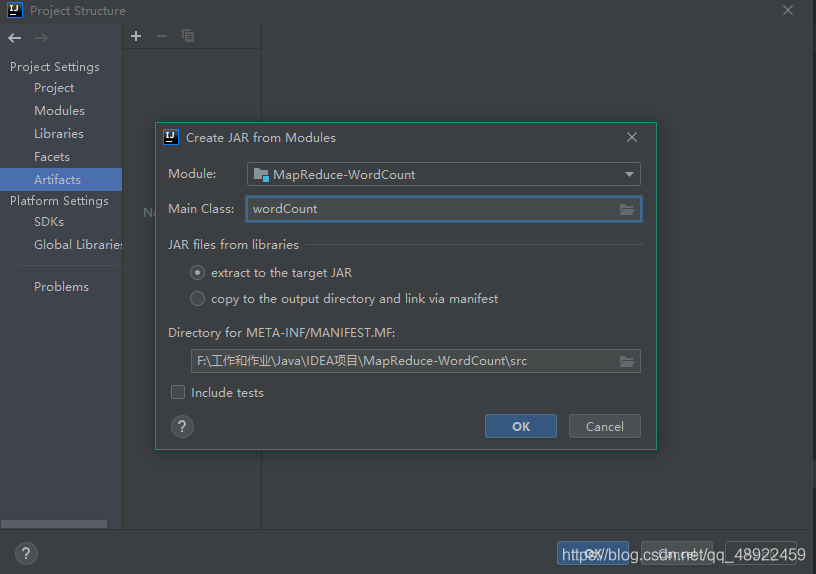
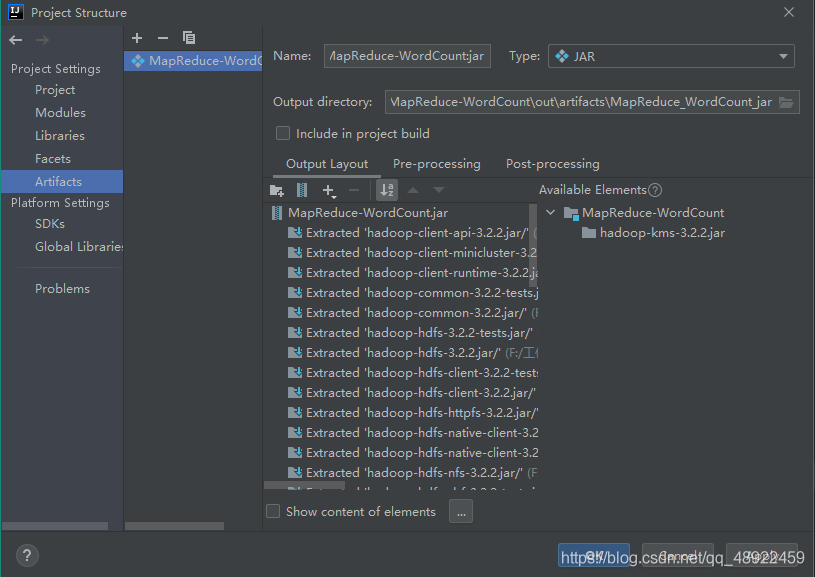
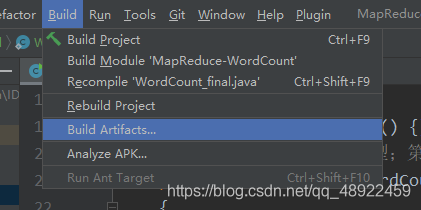
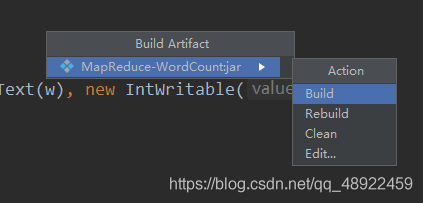
4、将编写的Java项目导出成jar包
完成后就在项目目录下的 out 文件夹下的 artifacts 生成了 jar 包
5、将jar包导入到Linux 进入到你的服务器的hadoop所在的文件夹,我的在 /usr/local/hadoop 你们的可能不一样
在 hadoop 的 bin 文件夹下的 hadoop 文件夹创建文件夹 input
1 ./bin/hadoop fs -mkdir /input
1 bin/hadoop fs -put /home/xyj/classes/hadoop.jar /input
bin/hadoop MapReduce-WordCount.jar wordcount /input /output运行jar包
MapReduce-WordCount.jar为打包的jar包名,可能你们的不一样
即可获得运行结果
总结 没有总结
